Crochet Pencil / Glasses Pouch
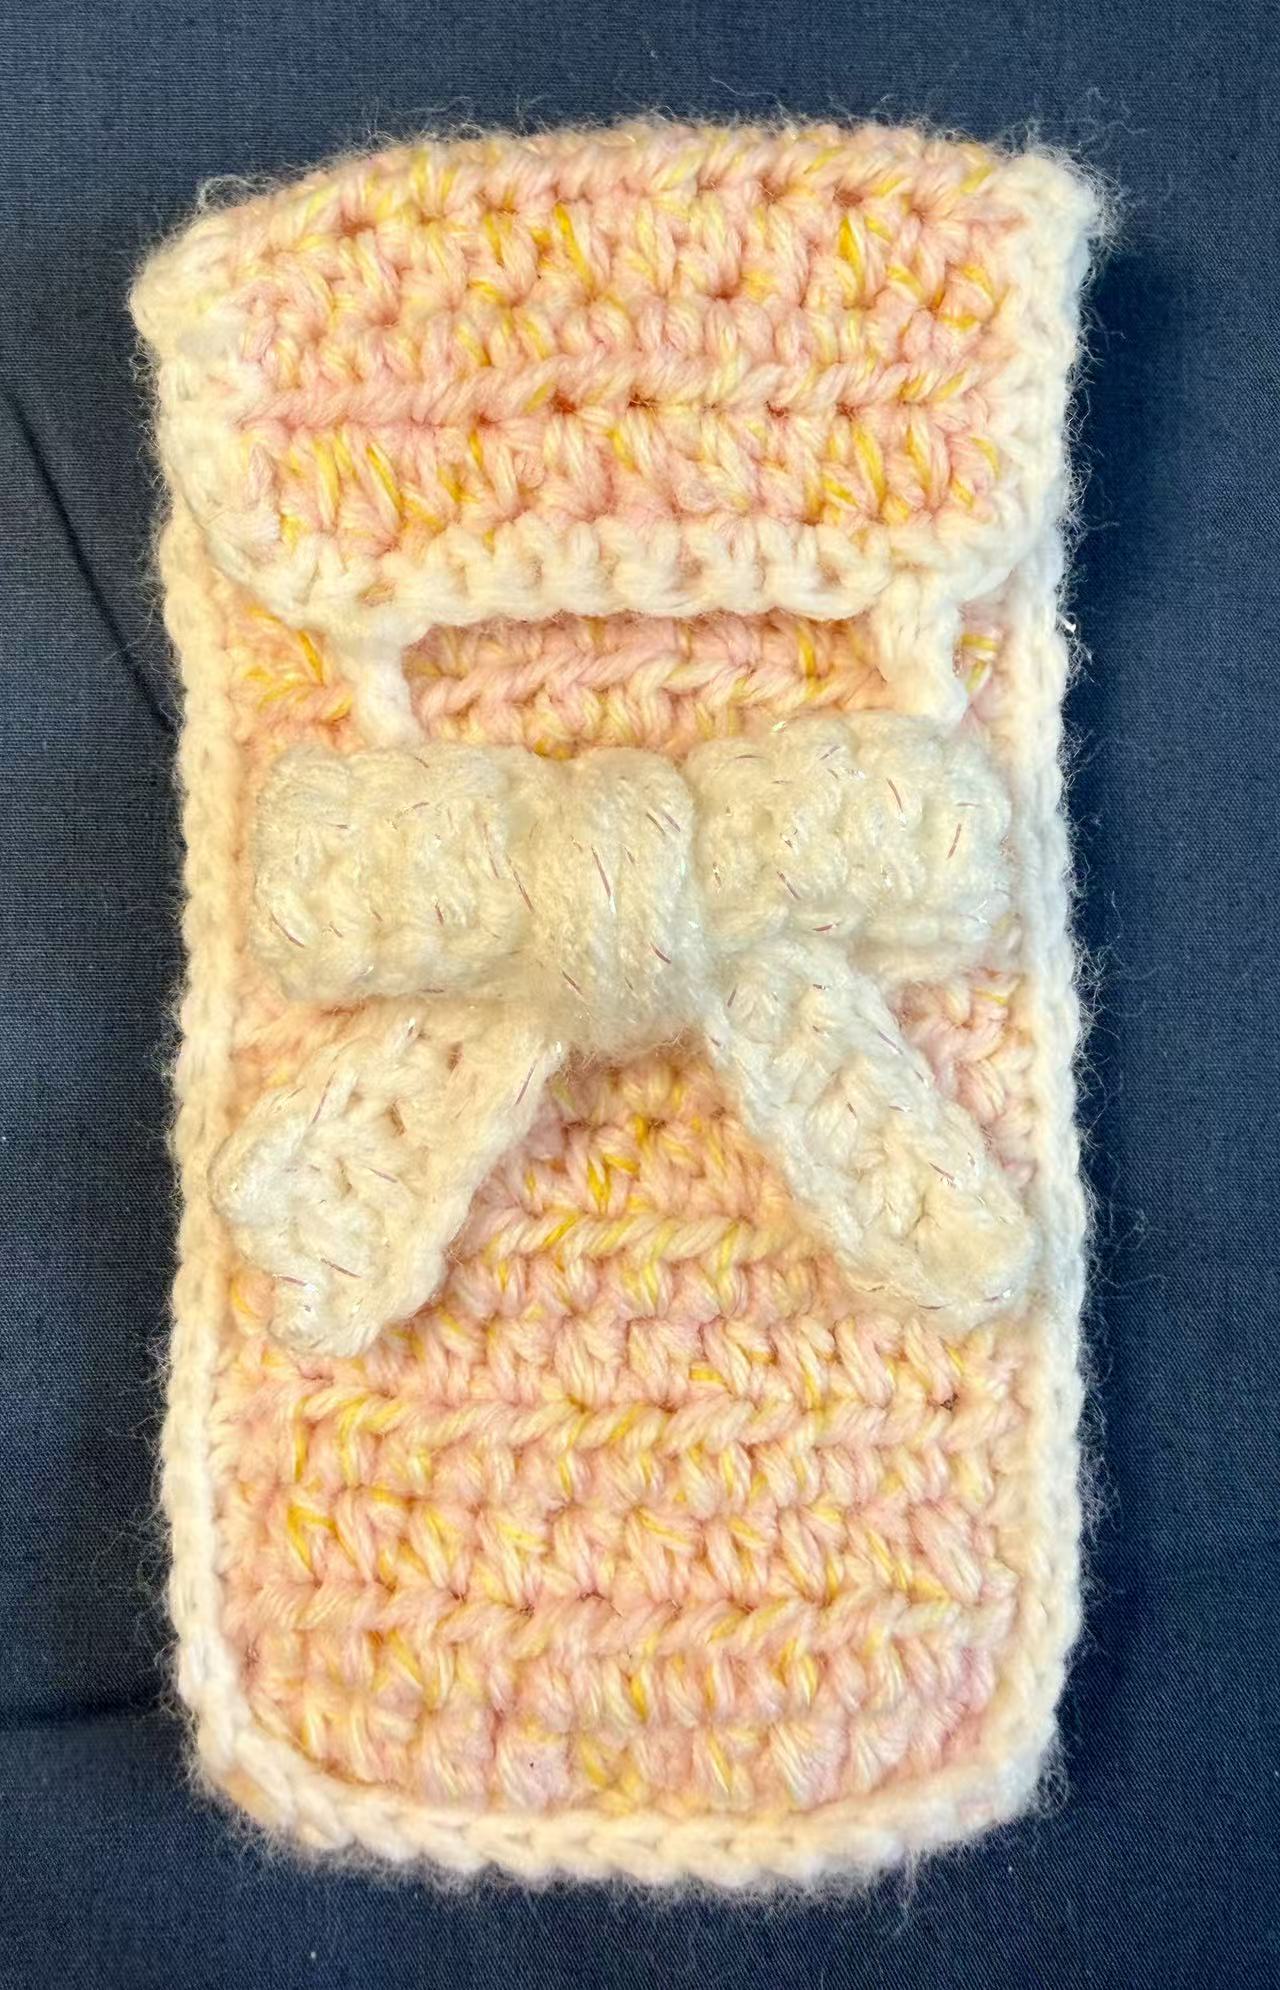
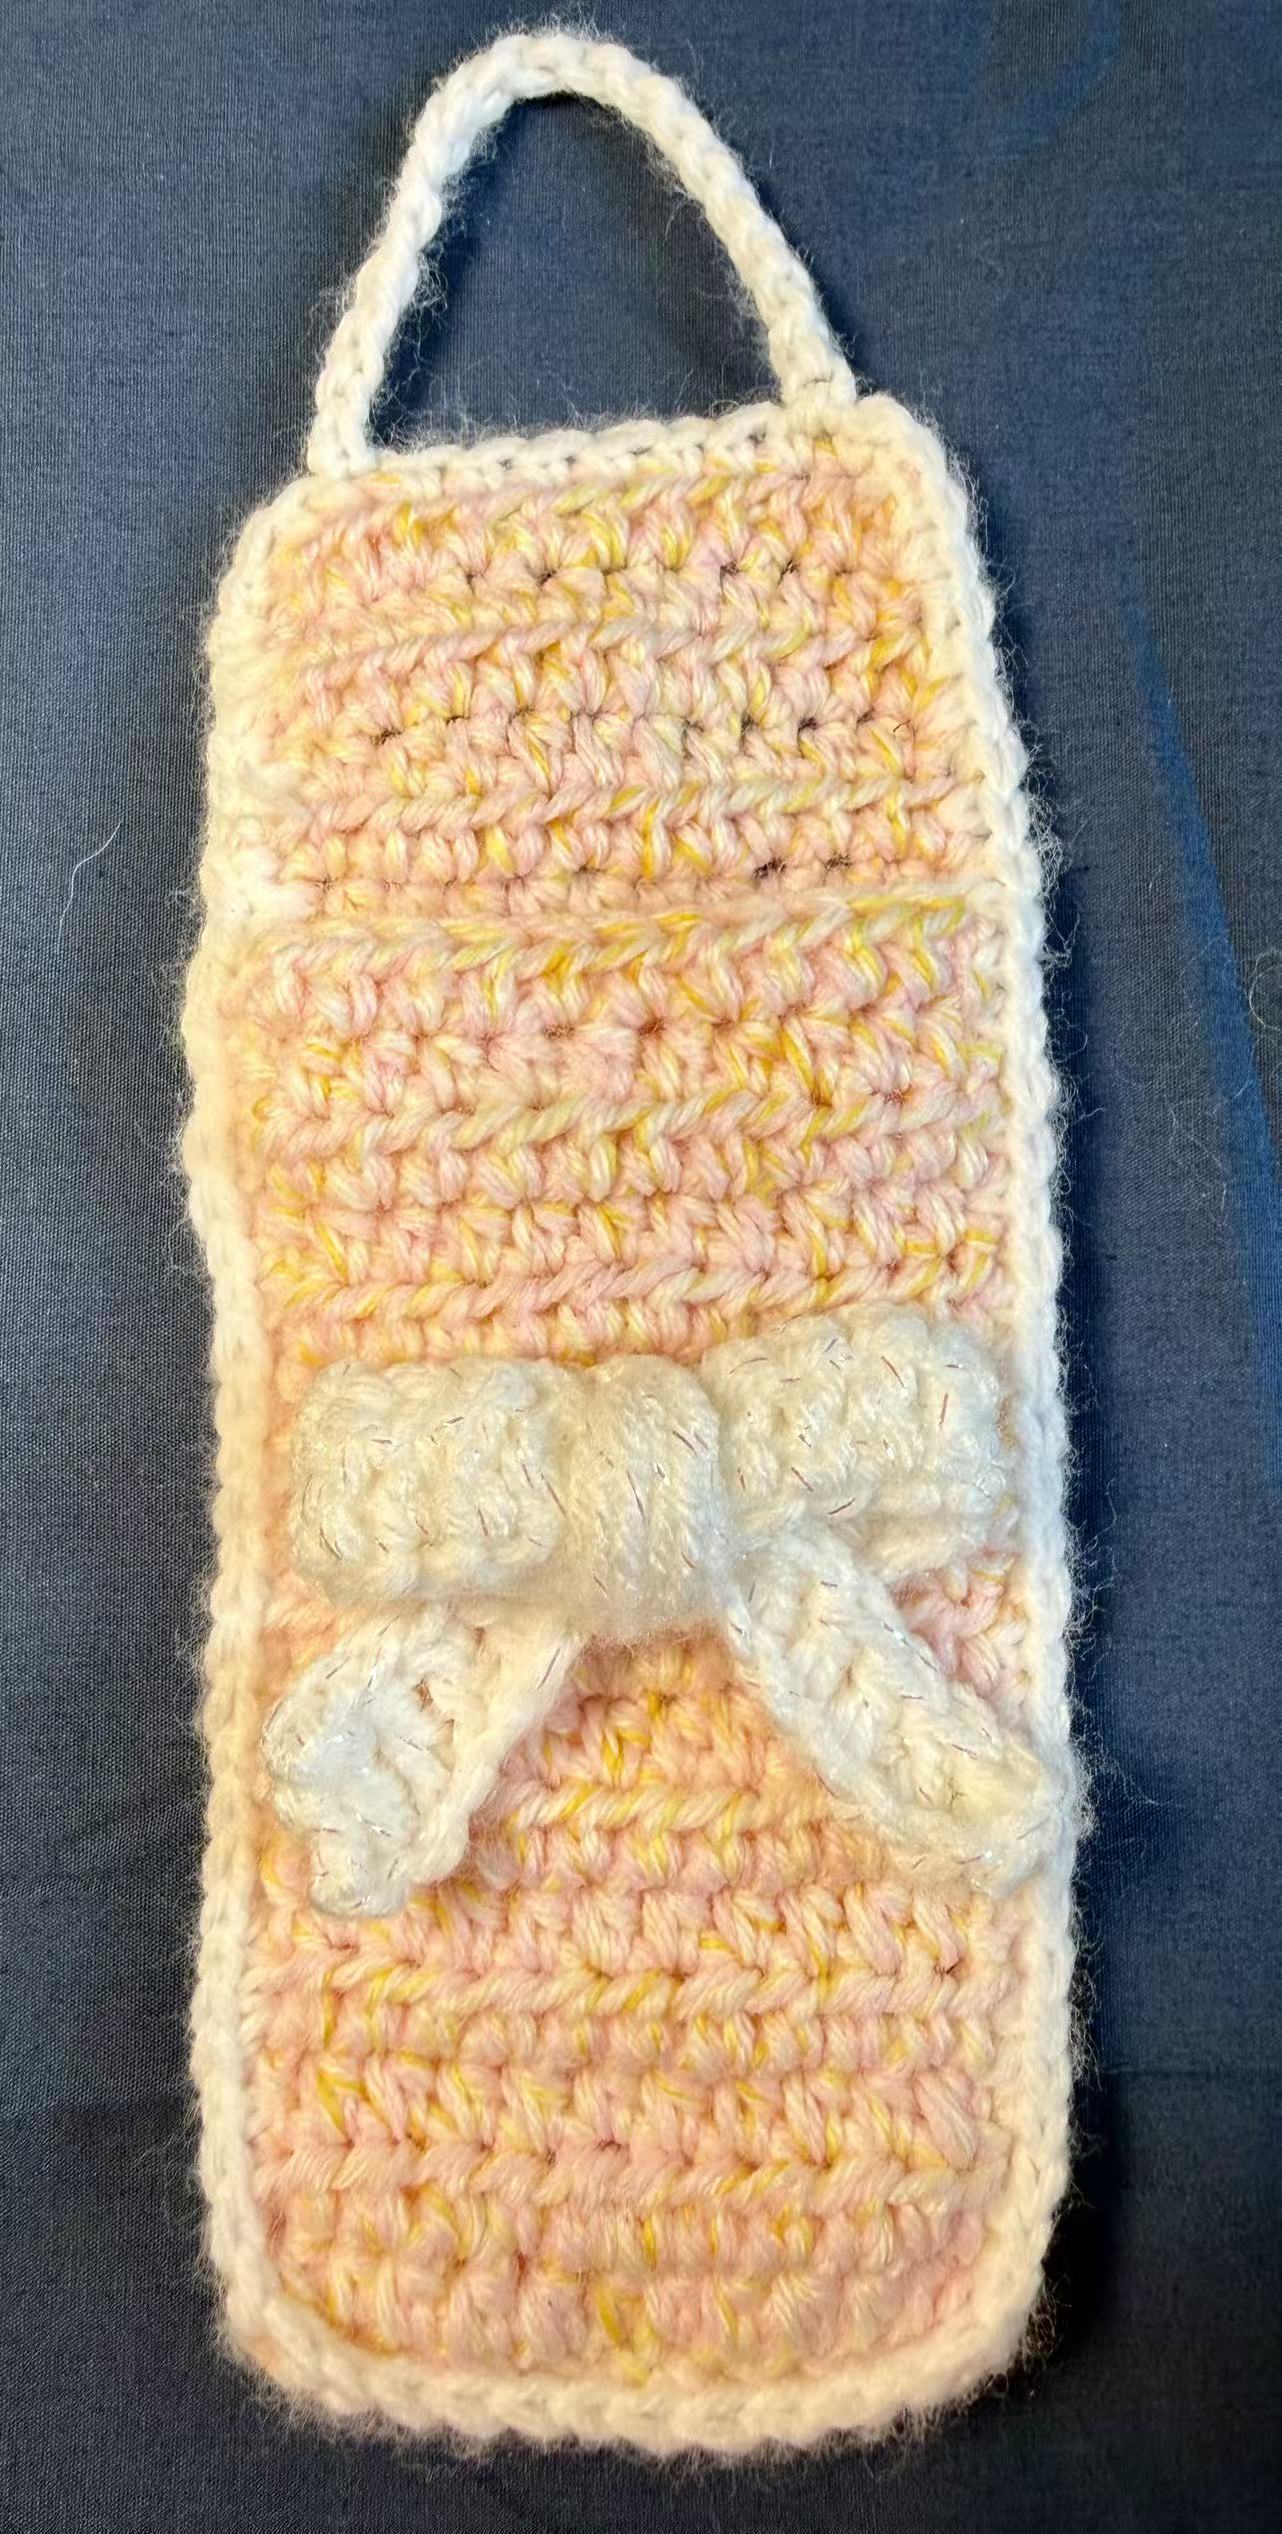
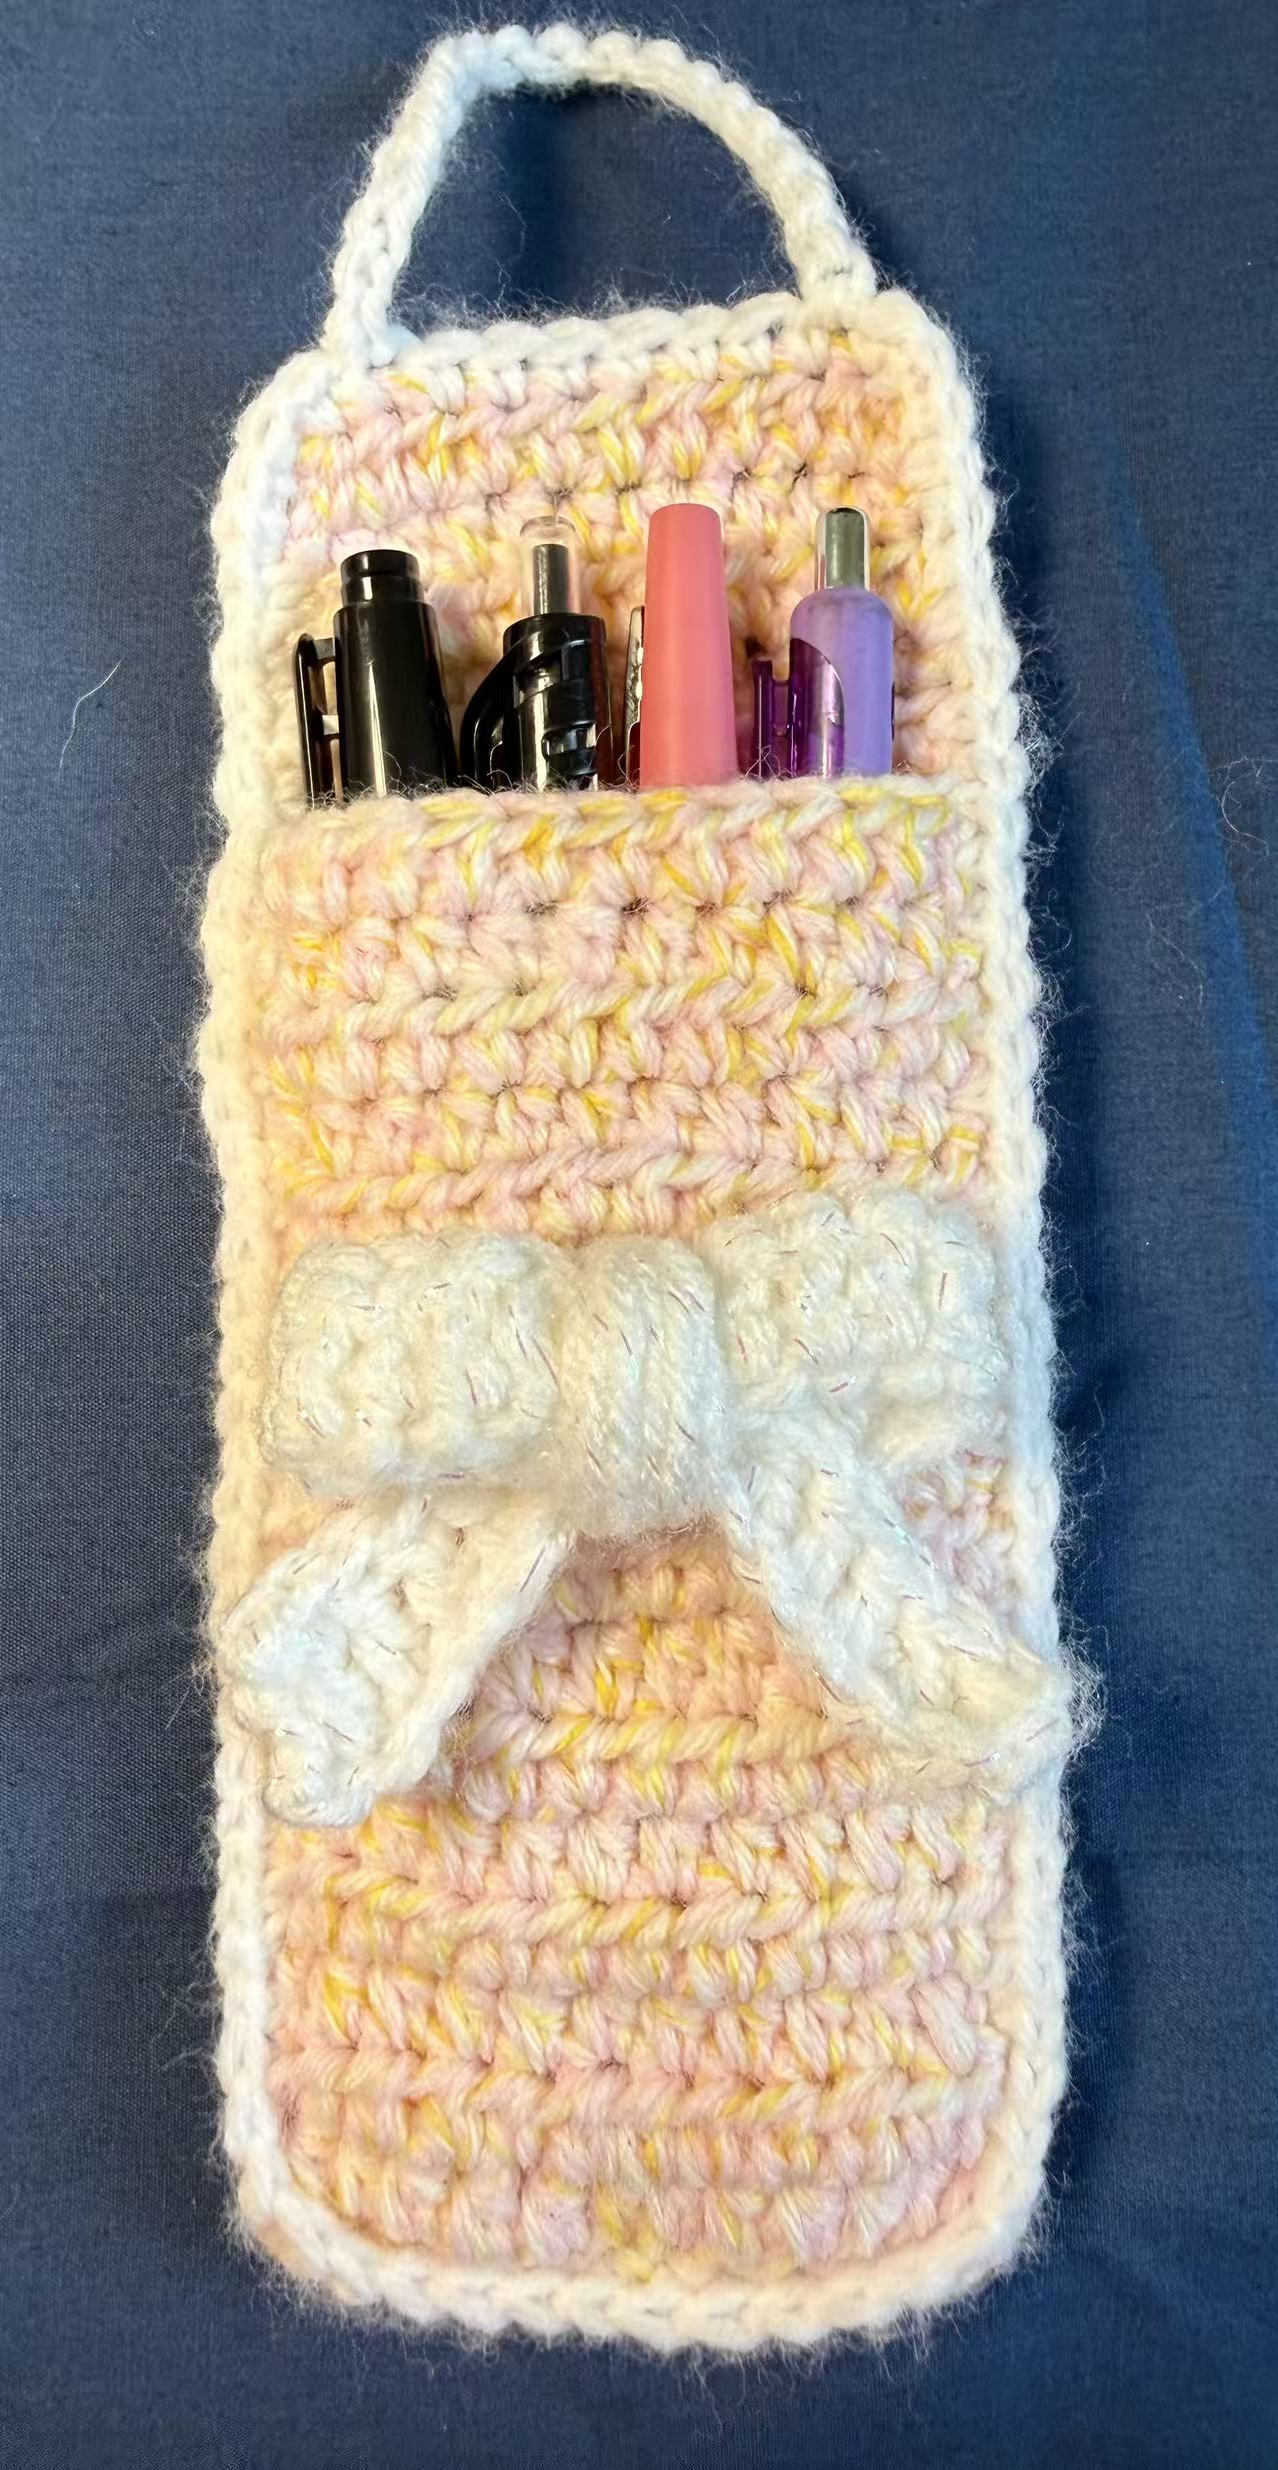
A slim crochet pouch for pencils or glasses, finished with a fold-over flap, a bow accent, and a simple loop closure.
- Type
- Work
- Category
- Crochet
- Date
- August 22, 2026
- Materials
- Two colors of yarn
- Dimensions
- 16 × 8.5 cm
- Making time
- 3 hours
- Availability
- Not for sale
- Similar commissions
- Not currently
This slim crochet pouch is sized to hold pencils or a pair of glasses. It measures 16 × 8.5 cm, with a softly structured body made from simple rows of half double crochet. A contrasting bow adds a playful detail to the front and also anchors the loop that keeps the flap closed.
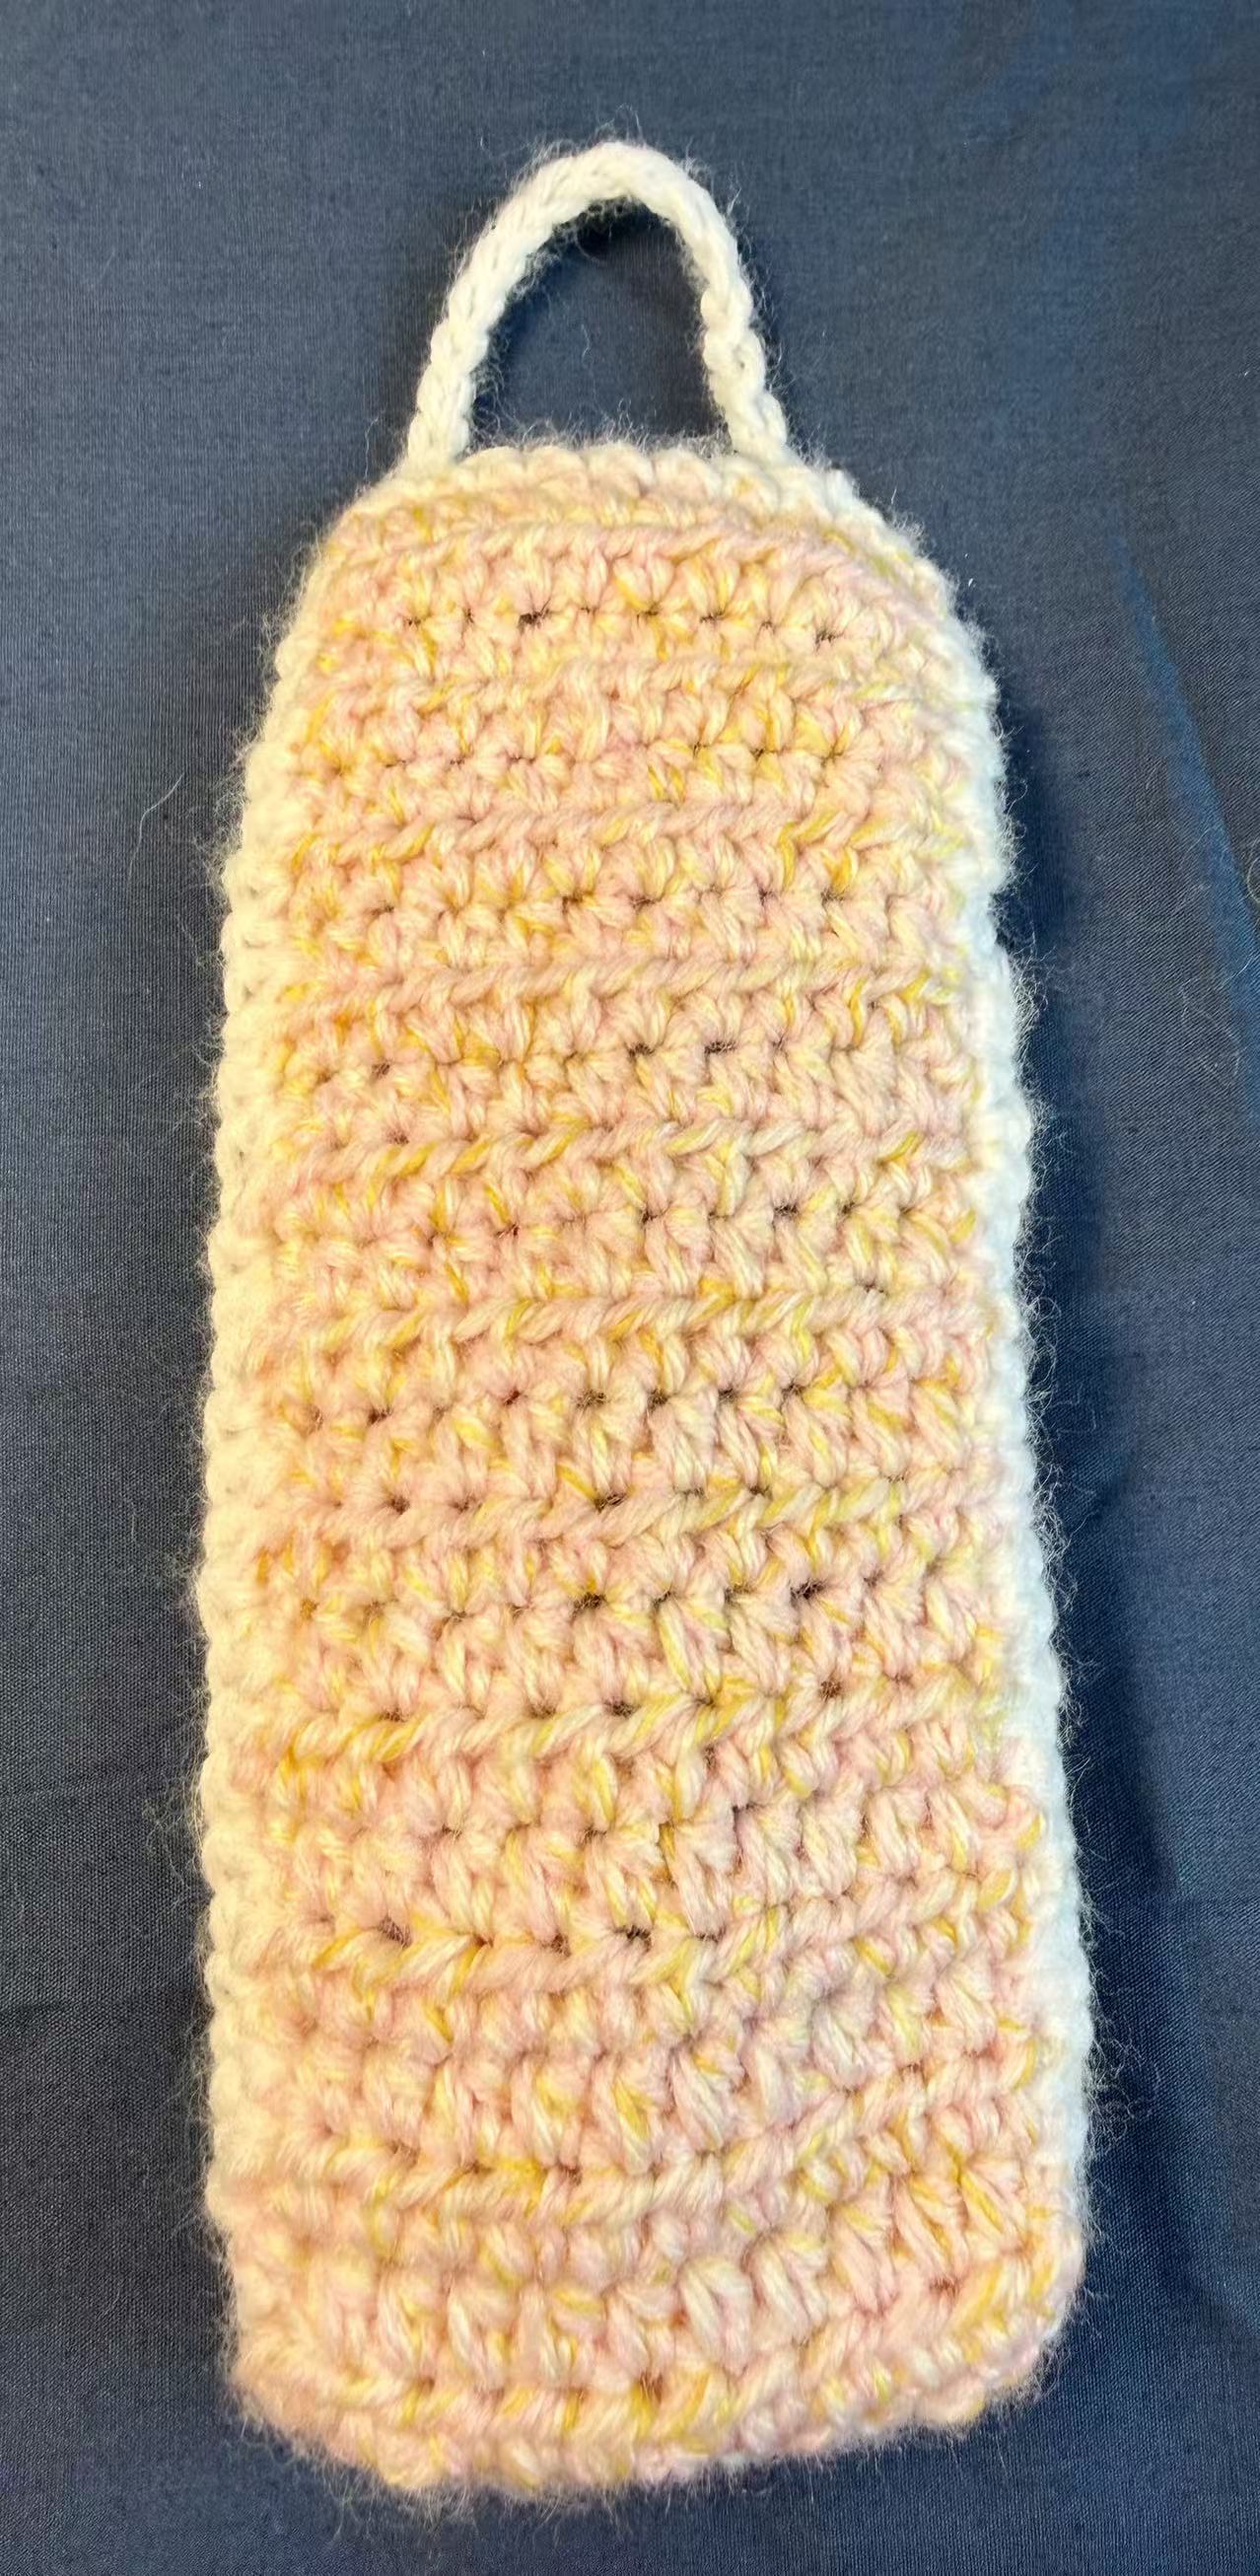
The pouch is constructed from two flat panels. The longer back panel extends into a fold-over flap, while an even single-crochet seam joins the sides and gives the edges a neat finish.
Materials
- Two colors of yarn: one for the main body and one for the bow and closure loop
- 4.5–5.0 mm crochet hook (US 7 to H/8)
- Yarn needle
- Scissors
Abbreviations (US Terms)
- ch: chain
- st(s): stitch(es)
- sl st: slip stitch
- sc: single crochet
- hdc: half double crochet
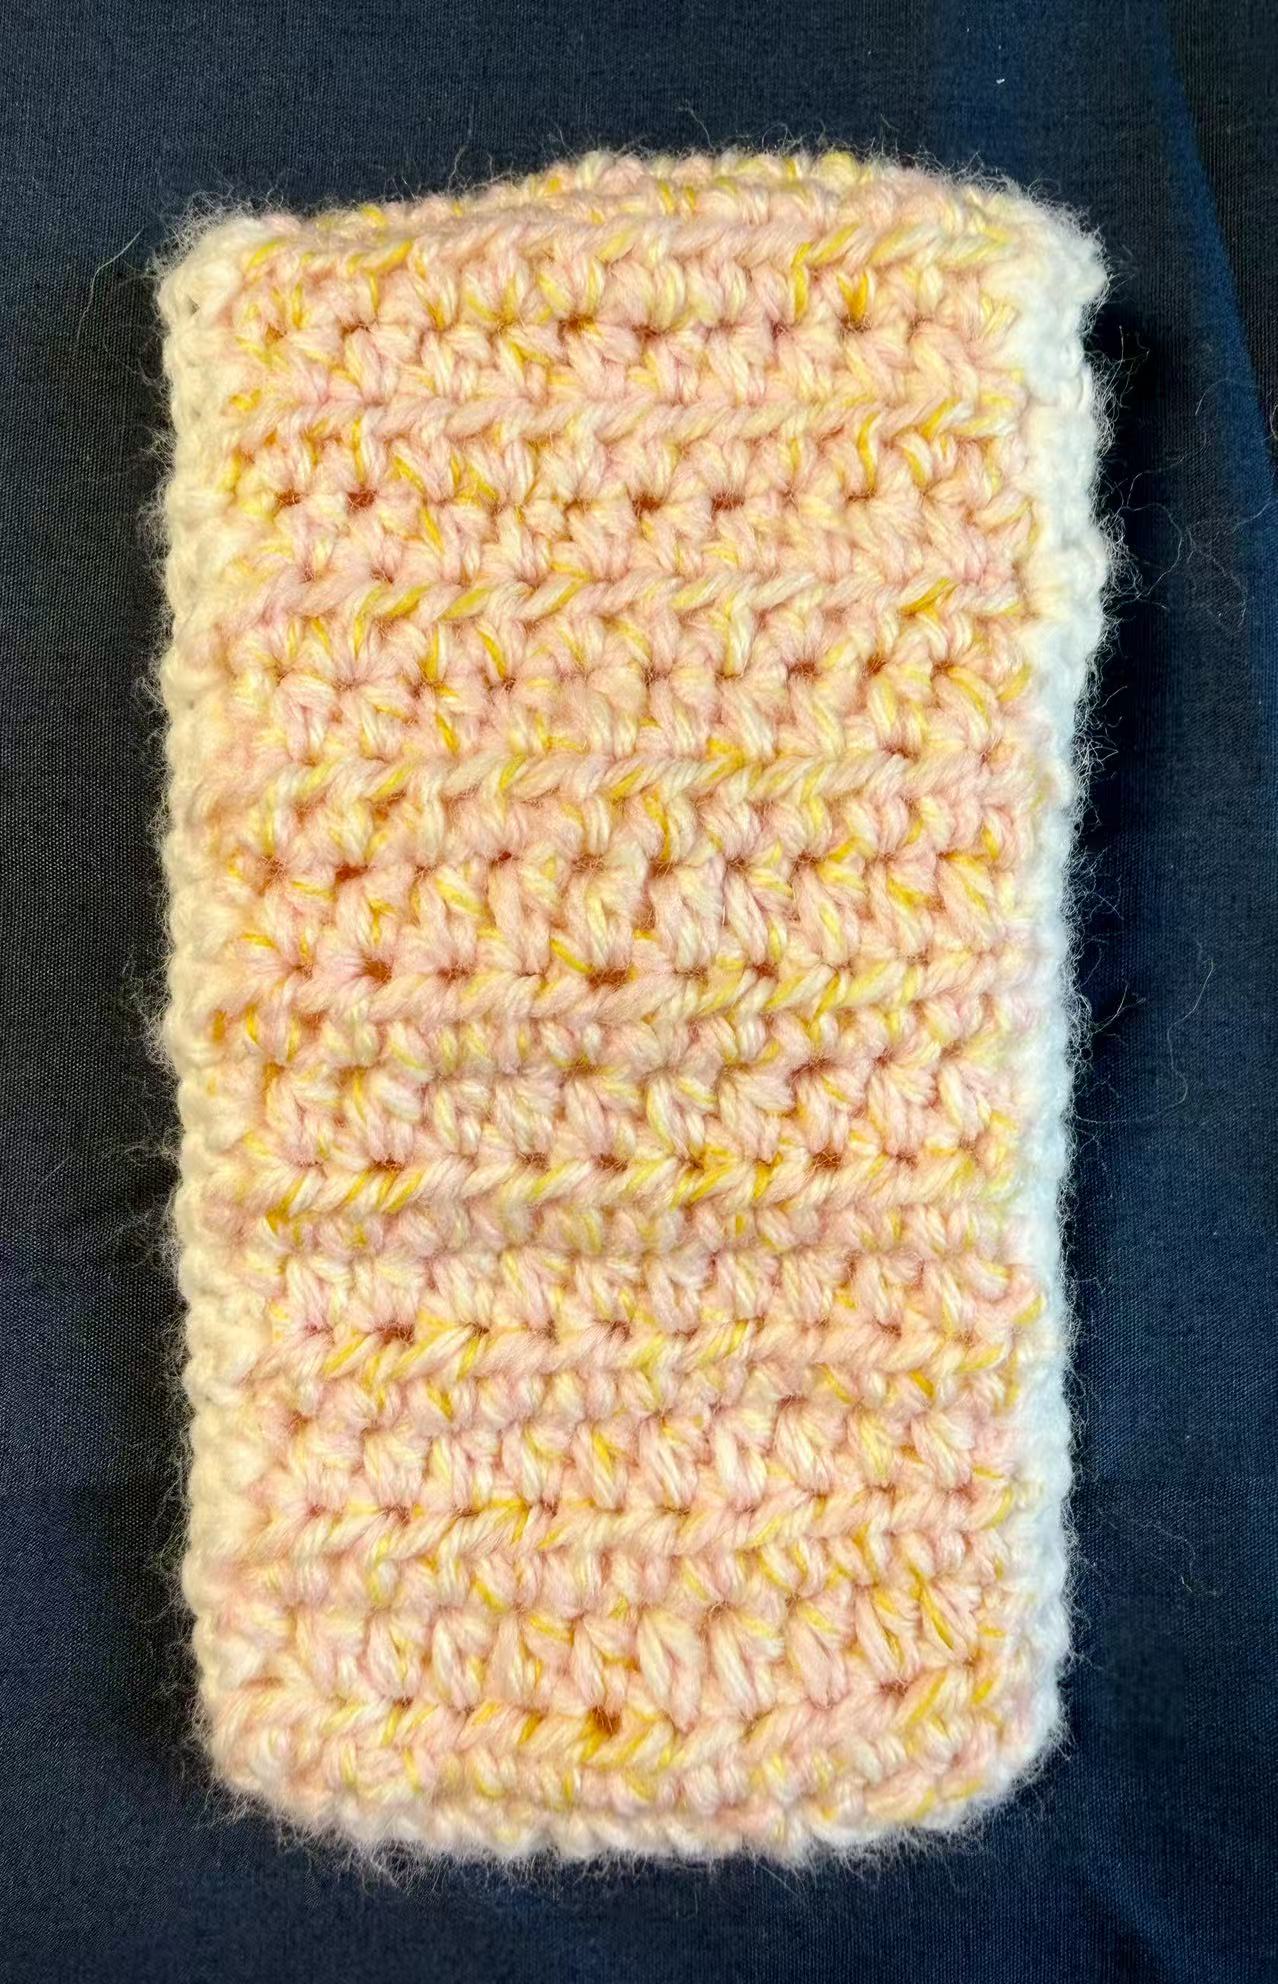
Front Panel
Foundation: Ch 12, or adjust the chain count for your preferred width.
Row 1: Hdc in the 2nd ch from the hook and in each ch across, ch 1, turn. (11 sts)
Row 2: Hdc in each st across, ch 1, turn. (11 sts)
Rows 3 onward: Repeat Row 2 until the piece reaches the desired height for the front panel.
Fasten off and weave in the ends.
Back Panel and Flap
Foundation: Ch 12, using the same starting count as the front panel.
Row 1: Hdc in the 2nd ch from the hook and in each ch across, ch 1, turn. (11 sts)
Row 2: Hdc in each st across, ch 1, turn. (11 sts)
Rows 3 onward: Repeat Row 2 until the strip is as long as the front panel, plus enough additional rows to form the fold-over flap.
Fasten off and weave in the ends.
Bow Accent
With the accent color, ch 28–35. Work rows of hdc until a small rectangle forms, then fasten off, leaving a long tail for shaping and sewing.
Fold the rectangle into thirds lengthwise. Wrap accent yarn tightly around the center to cinch it into a bow, leaving the tails visible. Center the bow on the front panel and use a yarn needle to stitch through the bow and the front layer only.
Assembly and Flap Closure Loop
Place the back panel flat with the wrong side facing up. Lay the front panel directly on top with the right side facing up. Join the main-color yarn at a bottom corner and work sc evenly through both layers along the bottom and sides. Alternatively, seam the panels together with a yarn needle.
For the closure loop, join the accent yarn to the flap in the second stitch from one corner and secure it with a knot. Ch 12, or enough chains for the loop to fit snugly over the bow, then sl st into the second stitch from the opposite corner. Ch 1, cut the yarn, and pull it through to fasten off.
Finishing
Weave all remaining yarn ends into the inside of the pouch and trim any excess yarn.