Crochet Textured Pouch
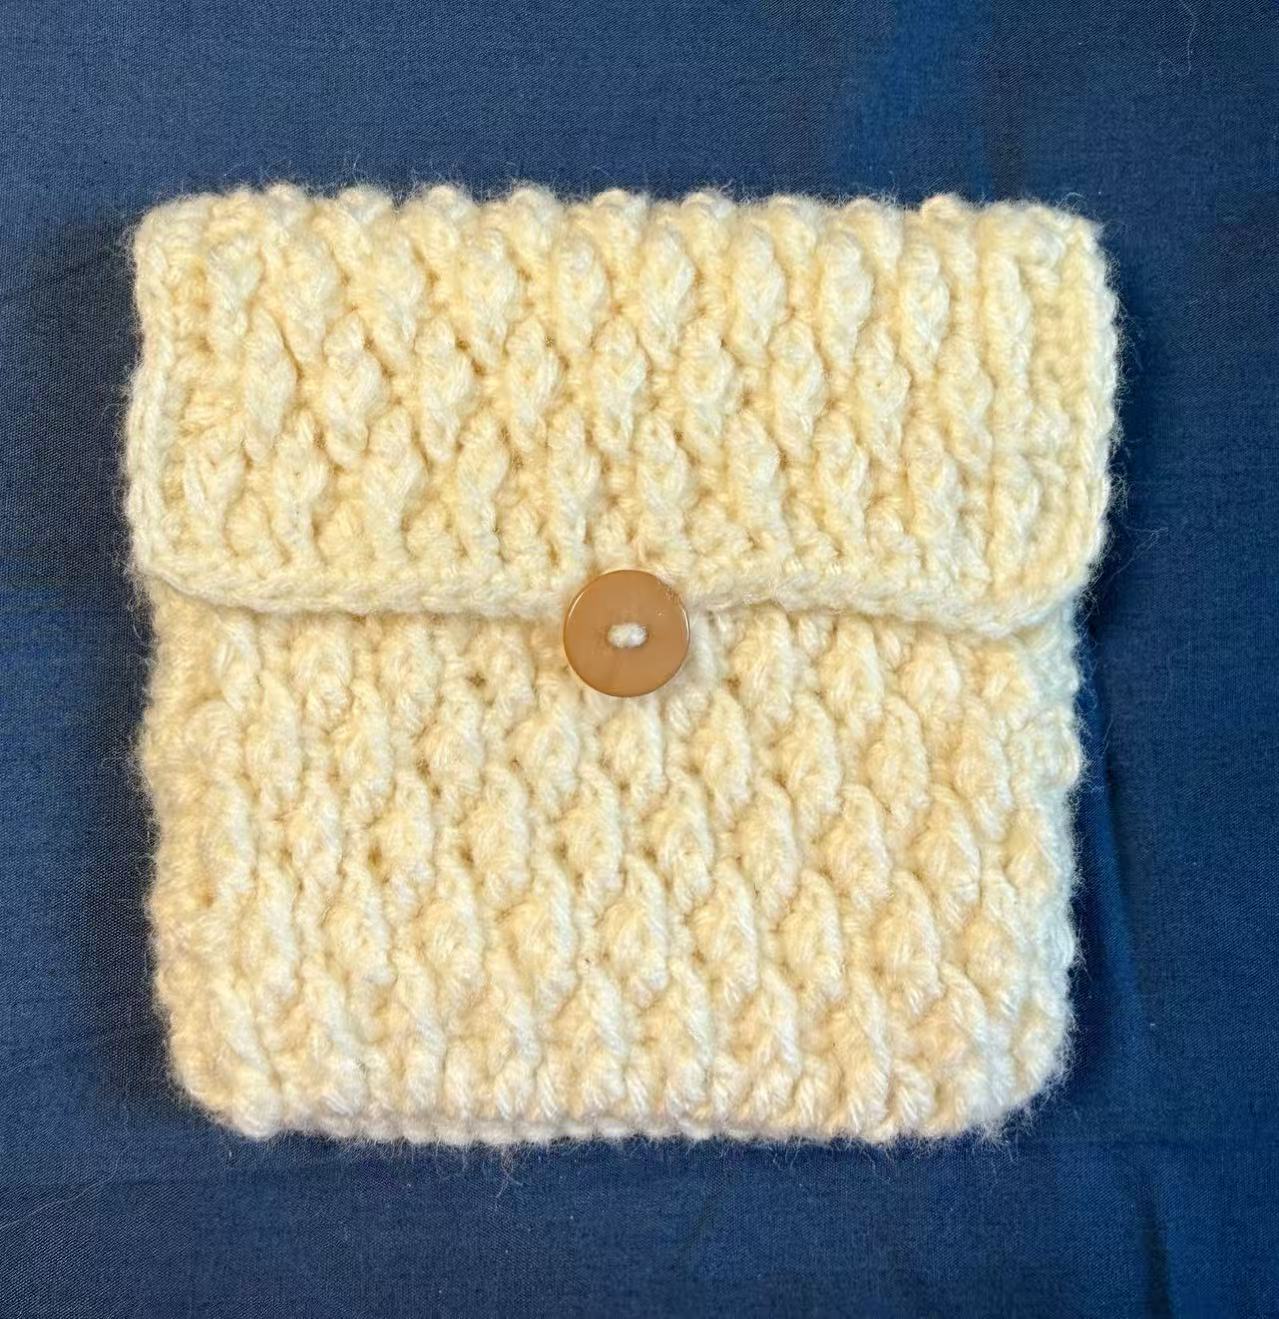
A compact white crochet pouch with a deeply textured surface, a fold-over flap, and a simple button closure.
- Type
- Work
- Category
- Crochet
- Date
- September 6, 2026
- Materials
- White worsted-weight yarn and one button
- Dimensions
- 13.5 × 13.5 cm
- Making time
- 3 hours
- Availability
- Not for sale
- Similar commissions
- Not currently
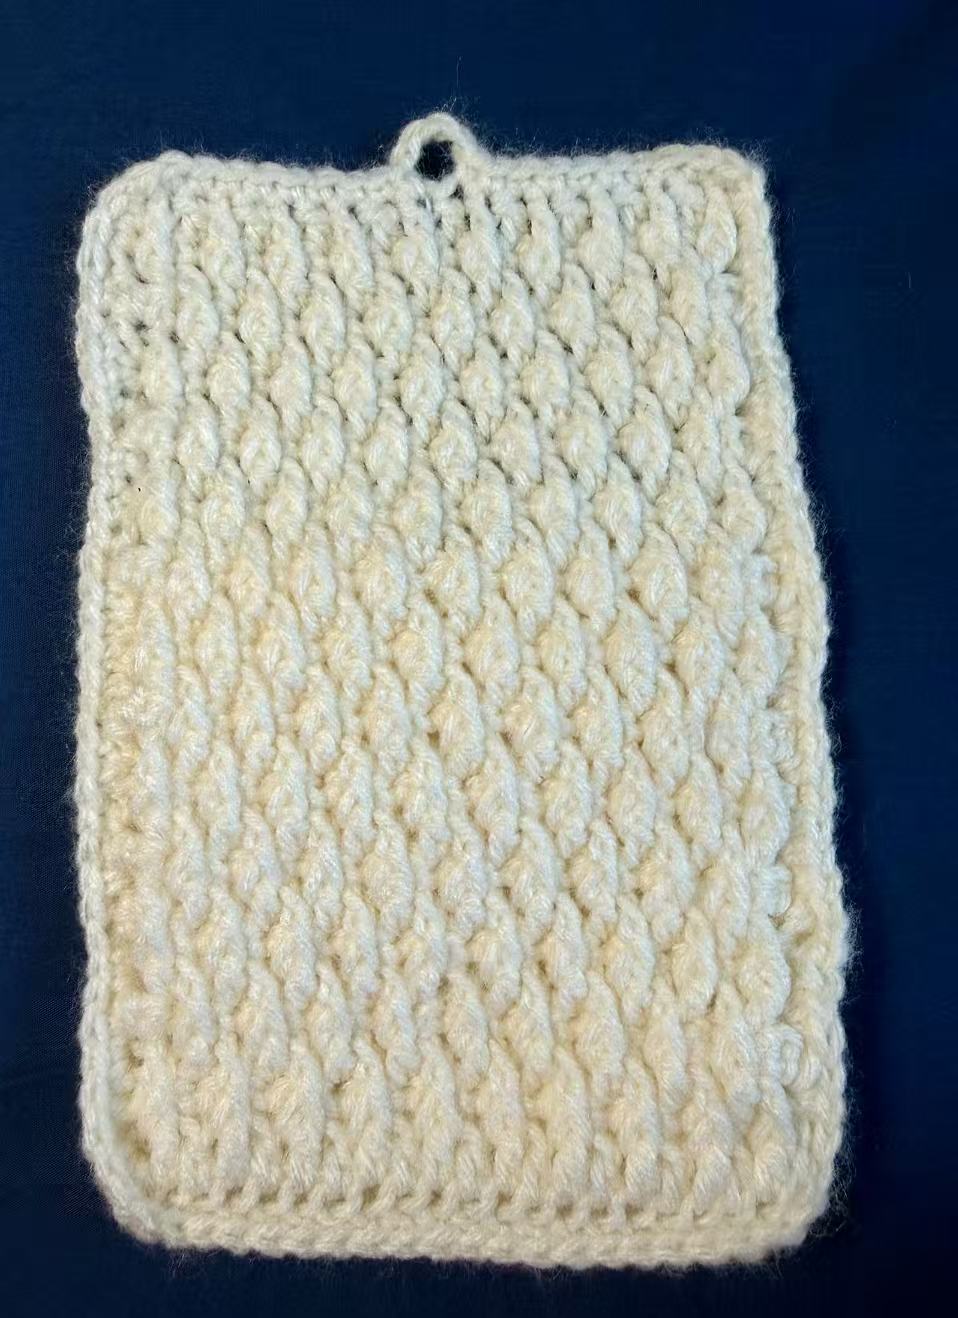
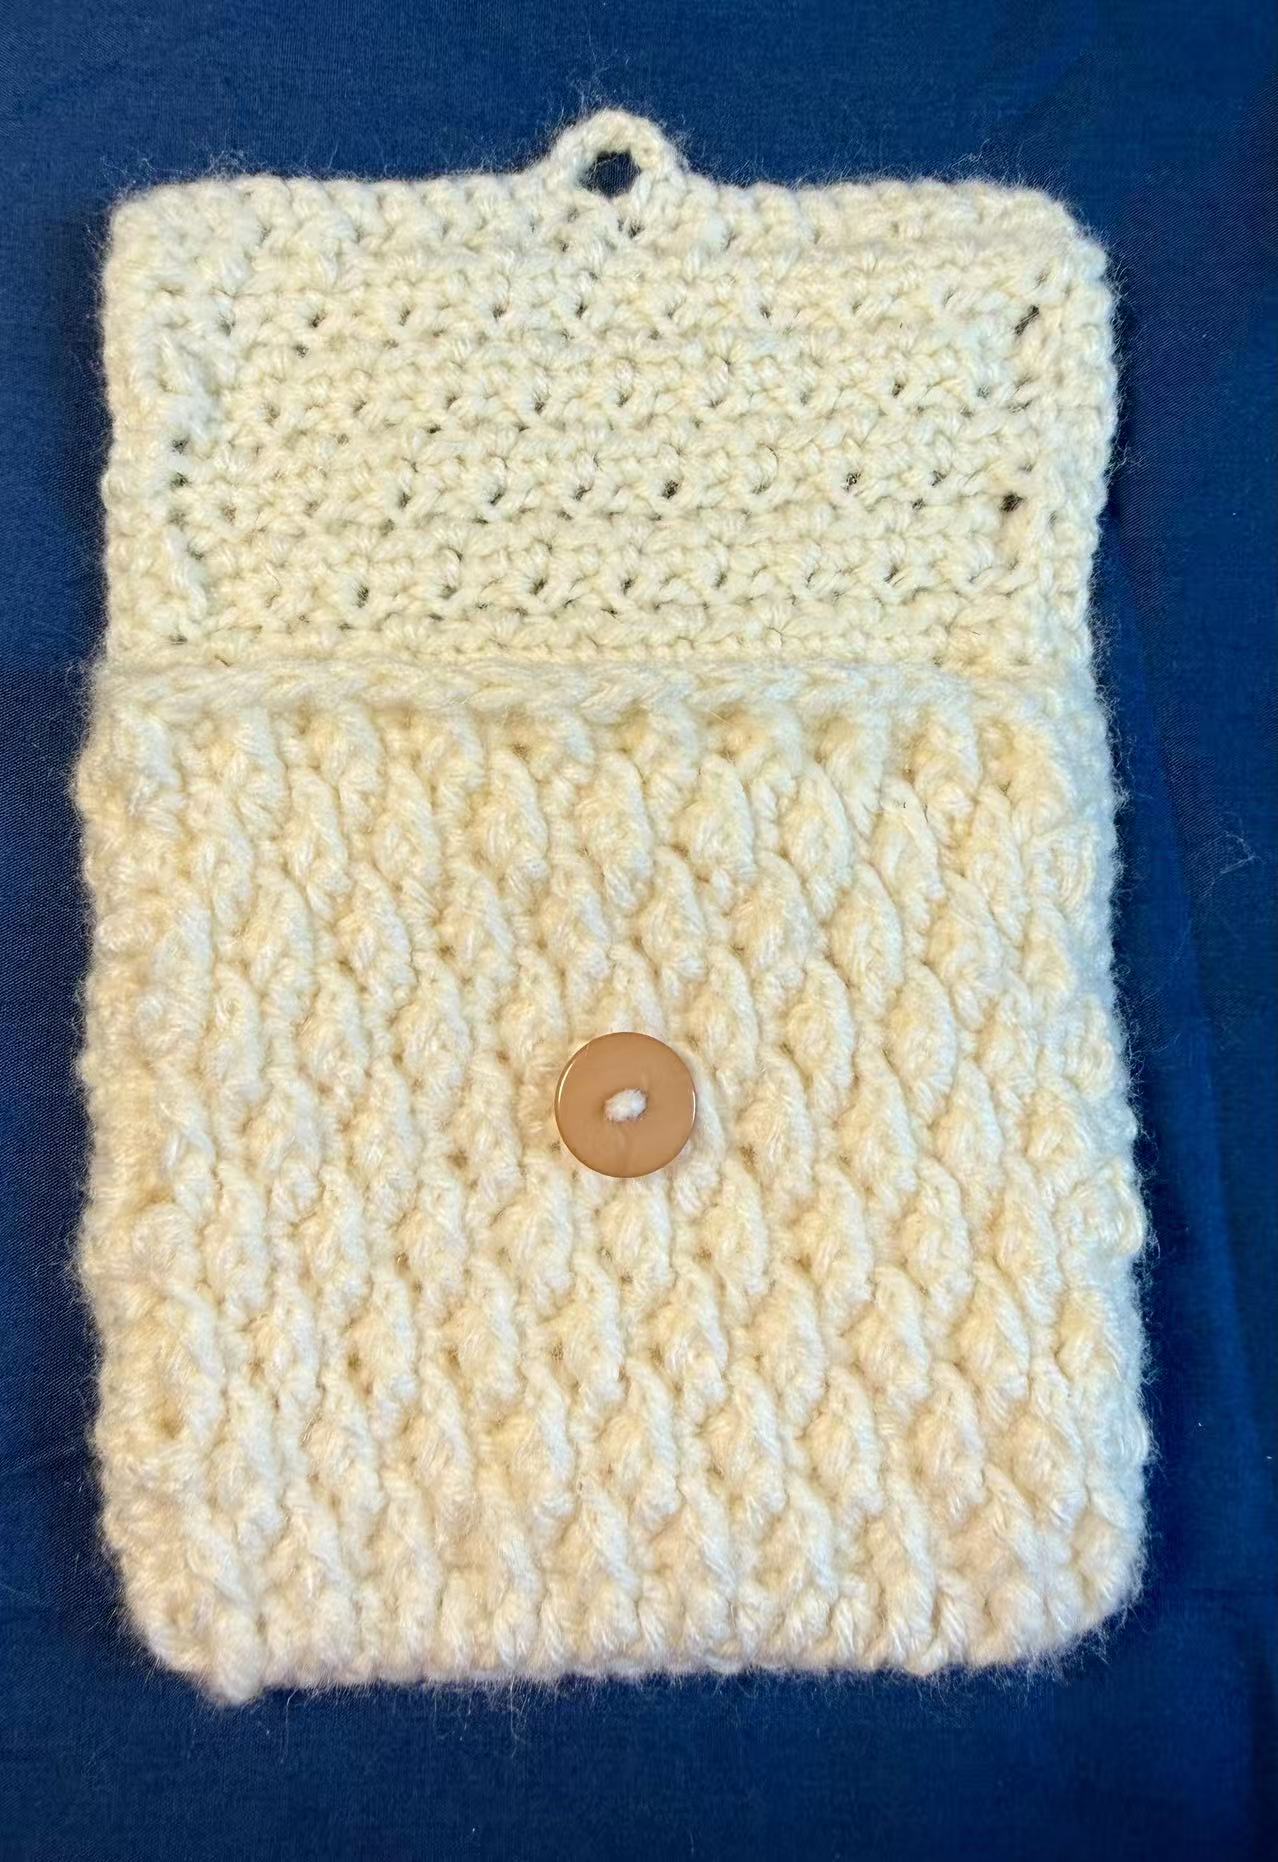
Small, practical pieces are a lovely way to let texture take the lead. This pouch measures 13.5 × 13.5 cm and is worked in white worsted-weight yarn, with alternating rows of single crochet and front post double crochet creating a softly raised surface. A longer back panel folds forward to become the flap, finished with a simple chain loop and button closure.
The pouch is made from two flat panels, then joined with a single-crochet border. The same border continues around the flap, bringing the construction together in one clean line.
Crochet Pattern
Materials
- 4.0 mm crochet hook
- White worsted-weight yarn
- Yarn needle
- Scissors
- 1 button
Abbreviations (US Terms)
- ch: chain
- st(s): stitch(es)
- sc: single crochet
- dc: double crochet
- fpdc: front post double crochet
Front Panel
Foundation: Ch 22.
Row 1: Dc in the 3rd ch from the hook and in each ch across, turn. (20 sts)
Row 2: Ch 1, sc in each st across, turn. (20 sts)
Row 3: Ch 2, fpdc around each st across, turn. (20 sts)
Rows 4–23: Repeat Rows 2 and 3 ten more times.
Fasten off and weave in the ends.
Back Panel and Flap
Foundation: Ch 22.
Row 1: Dc in the 3rd ch from the hook and in each ch across, turn. (20 sts)
Row 2: Ch 1, sc in each st across, turn. (20 sts)
Row 3: Ch 2, fpdc around each st across, turn. (20 sts)
Rows 4–31: Repeat Rows 2 and 3 fourteen more times.
Do not cut the yarn.
Assembly and Border
Place the front panel flat over the back panel with the sides aligned. The extra rows of the back panel should extend above the front panel to form the flap.
Using the working yarn, sc around the joined edges to seam the sides and bottom:
- Work 2 sc into the edge of each dc and fpdc row.
- Work 1 sc into the edge of each sc row.
Continue in sc along the edges of the flap. Across the top edge, sc 10, ch 3 to form the button loop, then sc 10. Continue in sc down the remaining side edge to the starting point.
Fasten off and weave in all ends.
Finishing
Position the button at the center of the front panel along Row 5, aligned with the ch-3 loop. Sew it securely in place with a yarn needle.